Chocolate Marble Snack Cake
Highlighted under: Daily Recipes
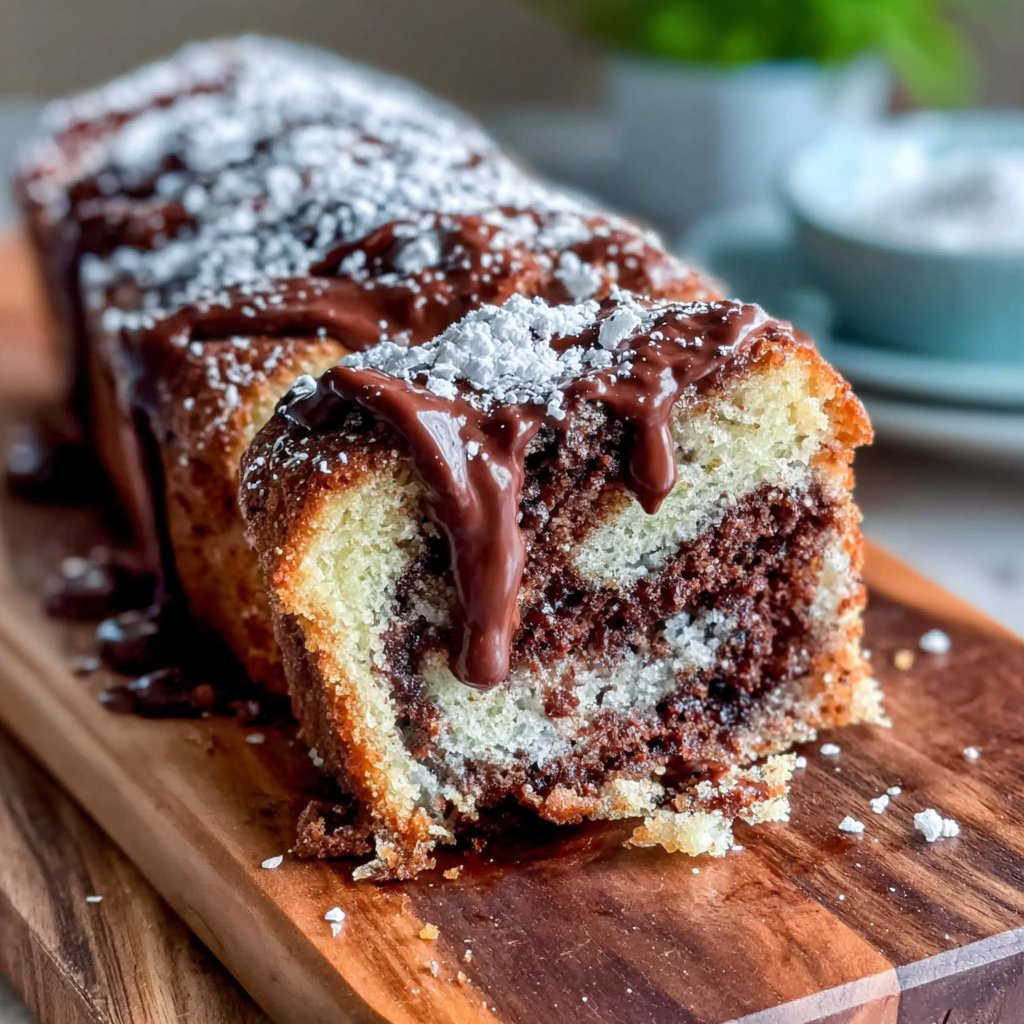
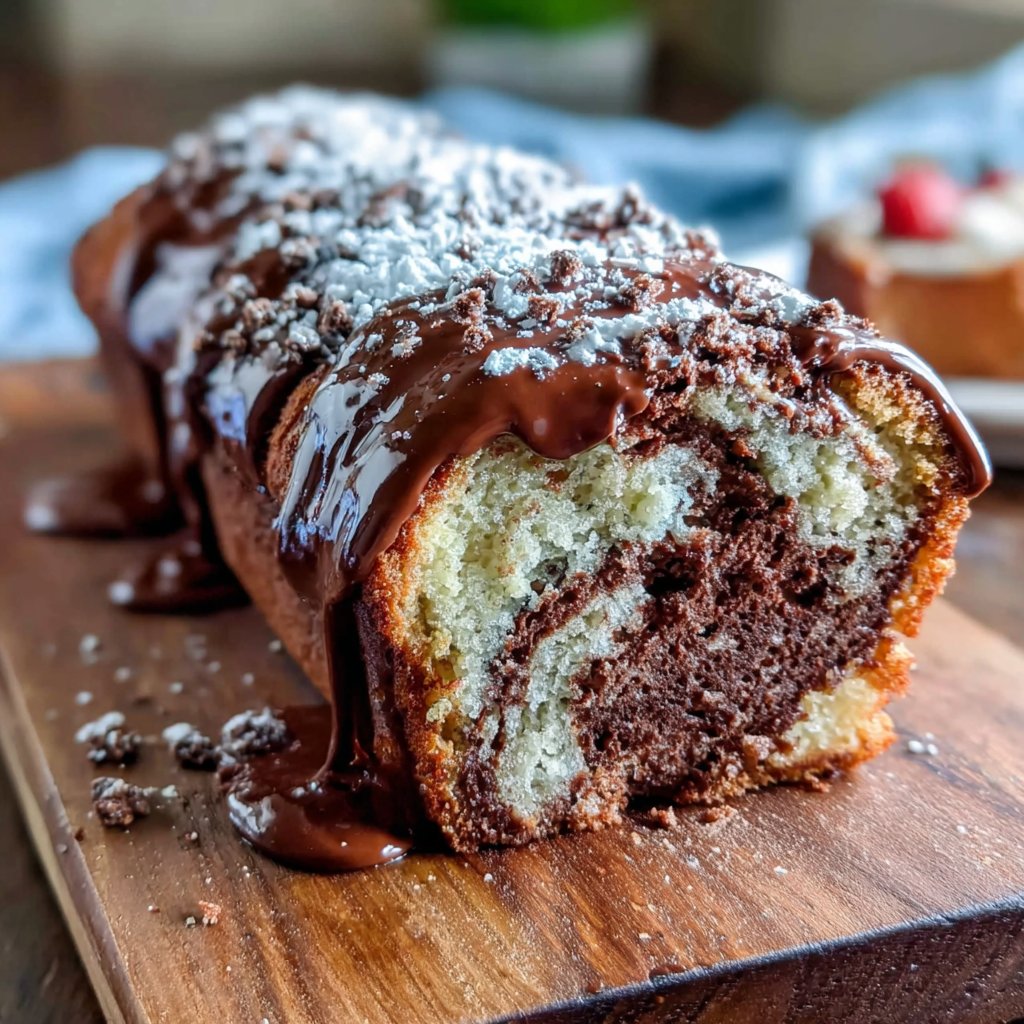
I absolutely love making this Chocolate Marble Snack Cake because it combines the rich flavors of chocolate and vanilla in the most delightful way. The marbled effect is not just visually appealing, but it also brings out the best of both worlds in flavor. Baking this cake fills my kitchen with an irresistible chocolate aroma, making it a perfect treat for family gatherings or a cozy afternoon snack. I often serve it with a dollop of whipped cream or fresh berries to elevate the experience even further.
When I first crafted this Chocolate Marble Snack Cake, I was experimenting with different flavor combinations and textures. The result was a fluffy cake that seamlessly blends chocolate and vanilla. I discovered that by alternating spoonfuls of batter, I could create the perfect marbled effect. If you ensure that the batter is thick enough, it helps create distinct swirls rather than a muddy mix.
Over time, this recipe has evolved into a family favorite. I often experiment with additions like chocolate chips or nuts for unique twists. Each time I bake it, the compliments keep rolling in, which reassures me that I’ve perfected the balance of flavors and textures.
What You’ll Love About This Recipe
- Rich chocolate flavor paired with fresh vanilla essence
- Easy-to-follow steps make it perfect for bakers of all levels
- Visually stunning marbled design that impresses guests
Perfecting the Marble Technique
Achieving the perfect marble effect in your cake is all about the technique. After pouring half of your batter into the prepared pan, use a spoon or knife to gently swirl the remaining batter on top. Be careful not to overmix, as this can lead to a uniform color instead of the beautiful marbling you desire. During the swirling process, aim for an 'eight' motion to create distinct patterns that showcase both the chocolate and vanilla layers once baked.
To ensure your marbled cake has a beautiful appearance, consider the thickness of your batter. If it's too runny, the marble effect may be less pronounced. Make sure your batter is thick enough to hold its shape when spooned into the pan. This balance is key; the chocolate batter can be slightly thicker than the vanilla batter to maintain distinct layers while still easily swirling together.
Ingredient Insights
The unsweetened cocoa powder you choose can significantly affect the cake’s flavor profile. Opt for a high-quality cocoa powder to ensure a rich chocolate taste. Dutch-processed cocoa can provide a smoother, darker flavor, while natural cocoa can add a slightly more acidic note. Both work well, but understanding their differences allows you to customize the cake to your preferences.
Butter provides richness and contributes to the overall texture of your cake. If you need a dairy-free alternative, consider using coconut oil or vegan butter. However, remember that these substitutions can slightly alter the flavor and moisture level, so you may want to experiment with adding a touch more milk to keep the cake moist.
Ingredients
Gather your ingredients before starting to ensure a smooth baking process.
For the Cake
- 1 ¾ cups all-purpose flour
- 1 cup granulated sugar
- ½ cup unsweetened cocoa powder
- ½ cup butter, softened
- 1 cup milk
- 3 large eggs
- 2 teaspoons baking powder
- 1 teaspoon vanilla extract
- ½ teaspoon salt
Make sure to have everything ready to go before you start mixing the batter!
Instructions
Preheat your oven and prepare your baking pan before diving into the mixing.
Preheat the Oven
Preheat your oven to 350°F (175°C) and grease a 9x13 inch baking pan.
Mix Dry Ingredients
In a large bowl, whisk together the flour, sugar, cocoa powder, baking powder, and salt.
Combine Wet Ingredients
In another bowl, beat the eggs with the milk and vanilla extract, then add the softened butter.
Combine Mixtures
Gradually add the wet ingredients to the dry ingredients until just blended.
Create Marble Effect
Spoon half of the batter into the prepared pan, then alternate with spoonfuls of the remaining batter, creating a marbled effect.
Bake
Bake for 30 minutes or until a toothpick inserted in the center comes out clean. Let cool before serving.
Let the cake cool completely in the pan for the best texture.
Pro Tips
- For an extra layer of flavor, consider adding chocolate chips to the batter or serving the cake with a simple glaze on top.
Serving Suggestions
This Chocolate Marble Snack Cake is incredibly versatile when it comes to serving. A dollop of whipped cream adds a light and creamy texture that beautifully complements the rich flavors of the cake. Fresh berries, such as strawberries or raspberries, not only bring a pop of color but also enhance the overall taste with their tartness, balancing the sweetness of the cake.
For an extra indulgent experience, you might consider drizzling the cake with a simple chocolate ganache made from melted chocolate and cream. This adds an elegant touch perfect for gatherings or special occasions. Additionally, sprinkling some powdered sugar on top right before serving can create a charming presentation that makes the cake even more inviting.
Make-Ahead and Storage Tips
This cake can be made ahead of time and stored wrapped tightly at room temperature for up to three days, retaining its moisture and flavor. If you want to extend its freshness, you can refrigerate it for up to a week. For even longer storage, consider freezing the cake. Wrap the cooled cake well in plastic wrap and then foil, and it can last in the freezer for up to three months.
When you're ready to enjoy a slice from the freezer, simply remove it and let it thaw at room temperature for a few hours, or you can warm individual slices in the microwave for about 15-20 seconds for a cozy, just-baked feel. This makes it an excellent treat to have on hand for unexpected guests or a sweet craving!
Questions About Recipes
→ Can I use whole wheat flour instead?
Yes, you can substitute up to half of the all-purpose flour with whole wheat flour for a healthier option.
→ What's the best way to store leftovers?
Store the cake in an airtight container at room temperature for up to three days, or refrigerate for up to a week.
→ Can I freeze the cake?
Absolutely! Wrap it tightly in plastic wrap and then foil before freezing. It can last for up to three months.
→ How do I make a gluten-free version?
You can use a gluten-free all-purpose flour blend and ensure that your baking powder is gluten free.
Chocolate Marble Snack Cake
Created by: Gillian Sykes
Recipe Type: Daily Recipes
Skill Level: Intermediate
Final Quantity: 12 servings
What You'll Need
For the Cake
- 1 ¾ cups all-purpose flour
- 1 cup granulated sugar
- ½ cup unsweetened cocoa powder
- ½ cup butter, softened
- 1 cup milk
- 3 large eggs
- 2 teaspoons baking powder
- 1 teaspoon vanilla extract
- ½ teaspoon salt
How-To Steps
Preheat your oven to 350°F (175°C) and grease a 9x13 inch baking pan.
In a large bowl, whisk together the flour, sugar, cocoa powder, baking powder, and salt.
In another bowl, beat the eggs with the milk and vanilla extract, then add the softened butter.
Gradually add the wet ingredients to the dry ingredients until just blended.
Spoon half of the batter into the prepared pan, then alternate with spoonfuls of the remaining batter, creating a marbled effect.
Bake for 30 minutes or until a toothpick inserted in the center comes out clean. Let cool before serving.
Extra Tips
- For an extra layer of flavor, consider adding chocolate chips to the batter or serving the cake with a simple glaze on top.
Nutritional Breakdown (Per Serving)
- Calories: 380 kcal
- Total Fat: 26g
- Saturated Fat: 15g
- Cholesterol: 195mg
- Sodium: 85mg
- Total Carbohydrates: 32g
- Dietary Fiber: 3g
- Sugars: 24g
- Protein: 6g